Friday, December 14, 2018

Poly Fur - Another Method


Deer Fur Texture

On request of a team member I used the simple method of painting a fur stencil onto the wolf model to create a fur effect that looked good in unreal.


Wolf used for production


This is the final version of the wolf with thick fur around his neck that was used in the film. I will continue to experiment with a few other methods, but this was what worked best in Unreal Engine.

-I painted the base colours in Substance Painter and created a material in unreal for that, which was applied to the wolf.
-A separate material was created for the eyes, mouth and teeth (textures were mapped onto a texture atlas) and these were applied to the second texture slot.
-The furry neck was created as a separate object with planes and the textures I created in photoshop were used to make a fur material - which included a wind node to give the effect of movement.


Particle Effect Experiments


One other method I tried was to create a particle system but swap in the fur planes rather than the hair, although this worked functionally, it was too difficult to control the placement of the fur. 


One of the issues that I ran into was when I brought the wolf into Unreal. When I was working in Blender, although not perfect, the fur looked coherant... it looked like it matched the base.
When I brought it into Unreal engine, the fur looked blocky and not quite right, even though an issue with transparency I had run into was resolved.

I worked through a sample workflow of bringing the texture into a plane and adding normal, specular and roughness maps. This helped and I did get a good effect, but when I repeated this on the wolf, it worked on only some parts and in other parts I was still ending up with a blocky effect.

Image_test with normal, specular and roughness maps - nice effect on its own but did not work added to the model 


Eventually I resolved the issue by rebuilding the mesh with a lot more planes and then, crucially, painting up the fur myself in photoshop using a specific fur brush rather than the clone brush, when I did this the transparency came through the hair strokes much more clearly and I got a more hair like effect.


Some of the attempts along the way

Final map with custom fur brushes

Thursday, November 22, 2018

Trial and Error

Ive been experimenting a lot with substance and maya and blender, trying to get everything working together for my fur workflow. It still all feels very apart, and I am not achieving the effect I want at all, but lots of trial and error in the working through.

Sunday, November 18, 2018

Hair Sample Succes

After a few attempts, I managed to export my UV layout to photoshop, the issue I had been coming up against was that the sizing of the UVs, when I reduced this, it worked. 

So I went into photoshop and painted up fur samples, as above. I mapped transparency onto the image and saved as PNG


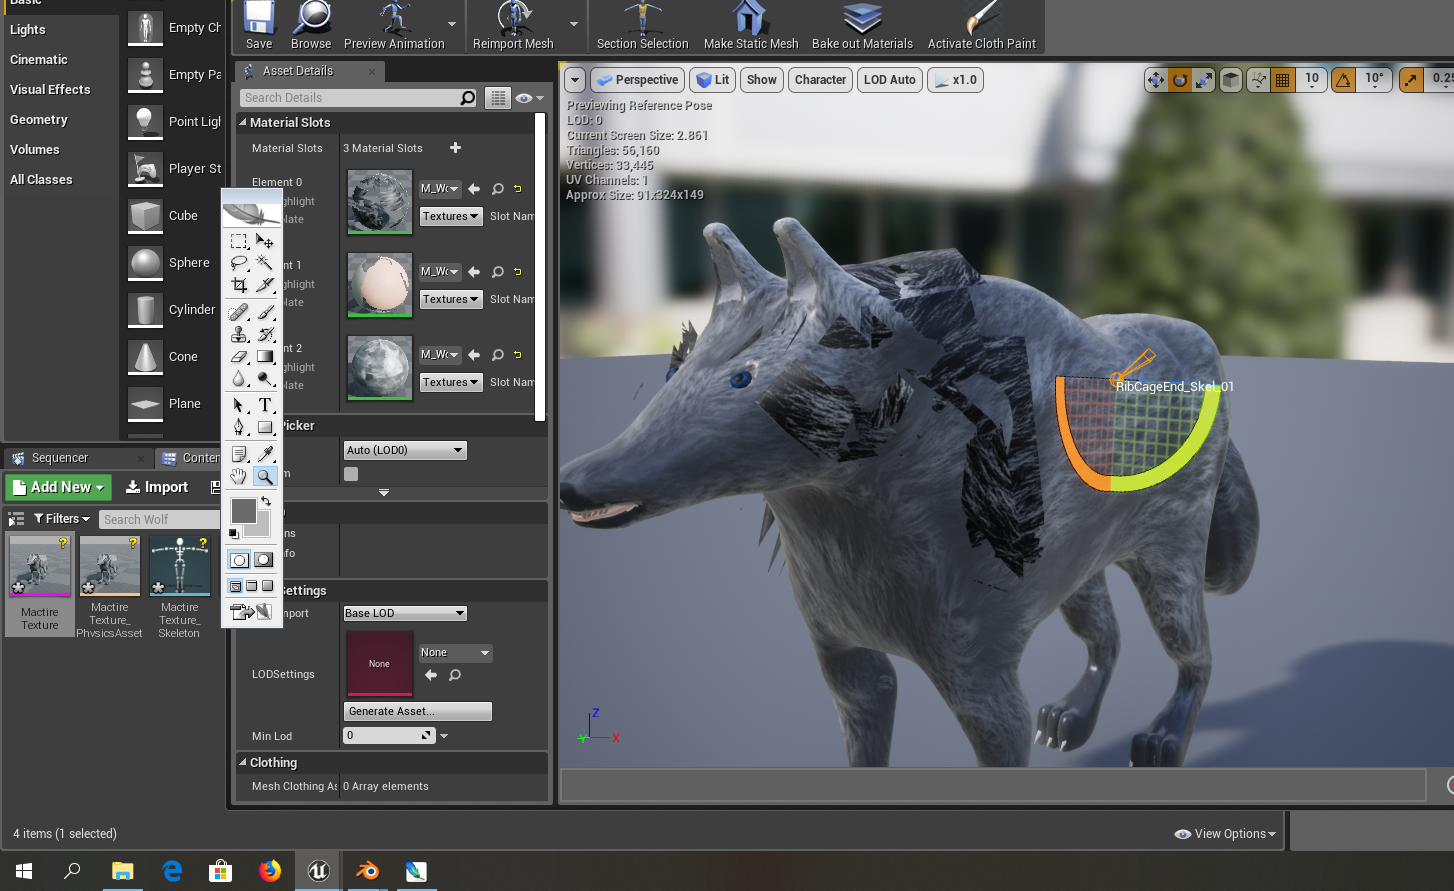
At first when I placed it on my sample fur cards, it came out strange, all of fur clumps came out together on each of the fur cards. 


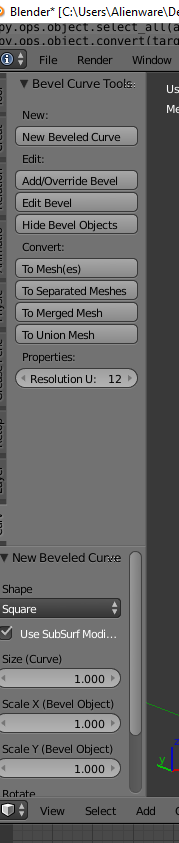
I resolved this, by adding a new material, and then importing the map again. This worked and I got a sample which I was pretty happy with. It needs work, but a good start. 


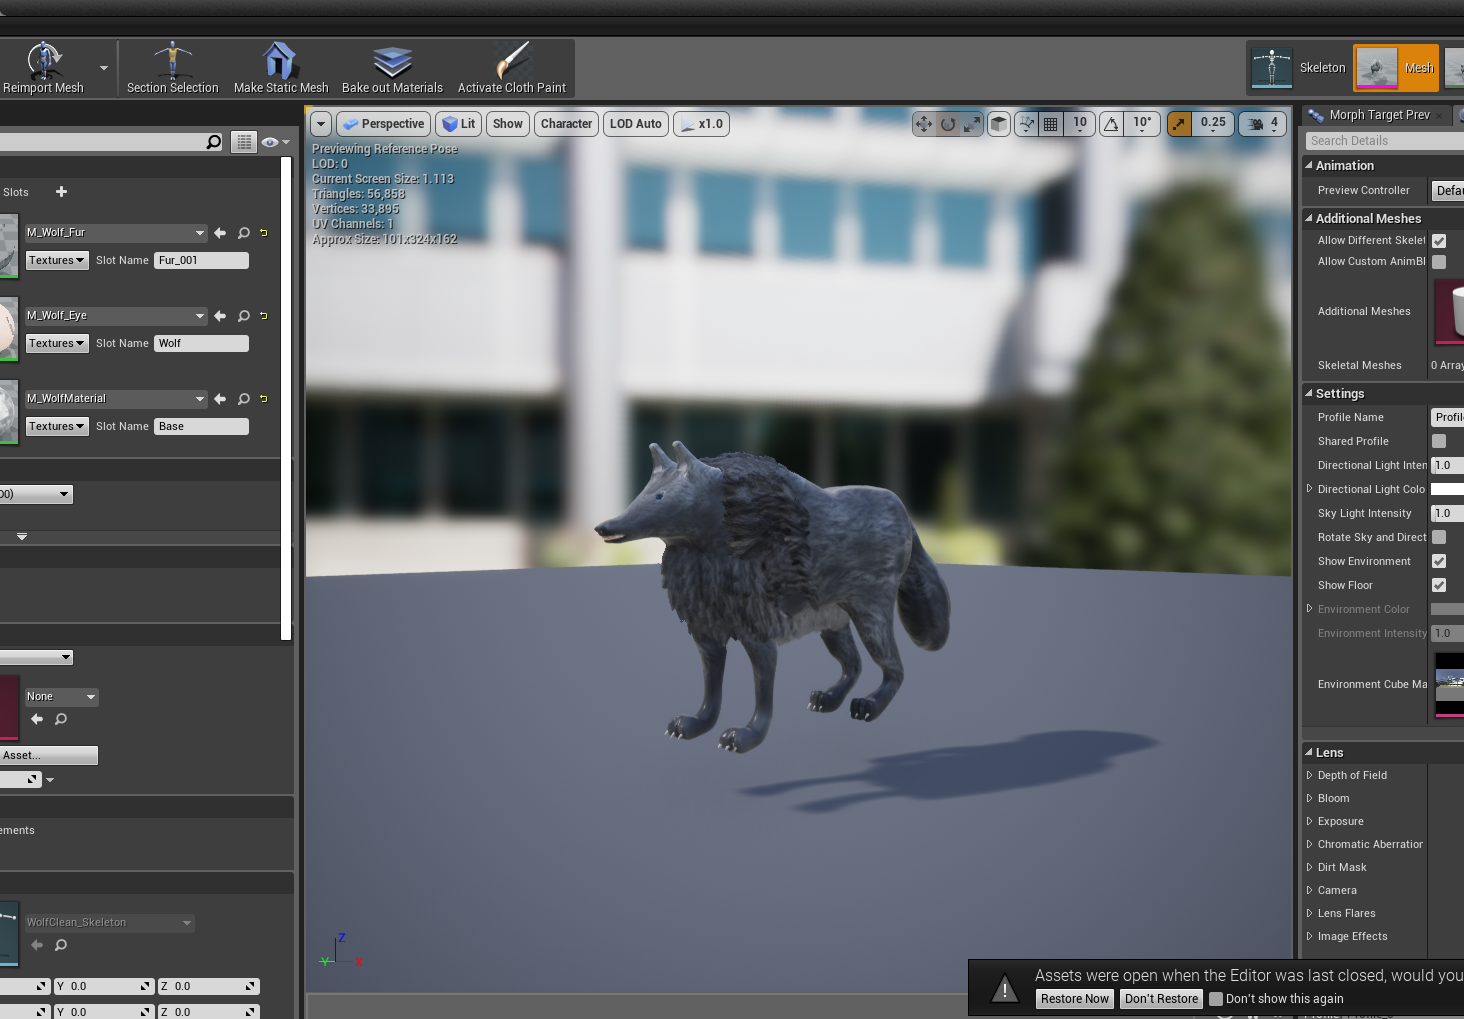
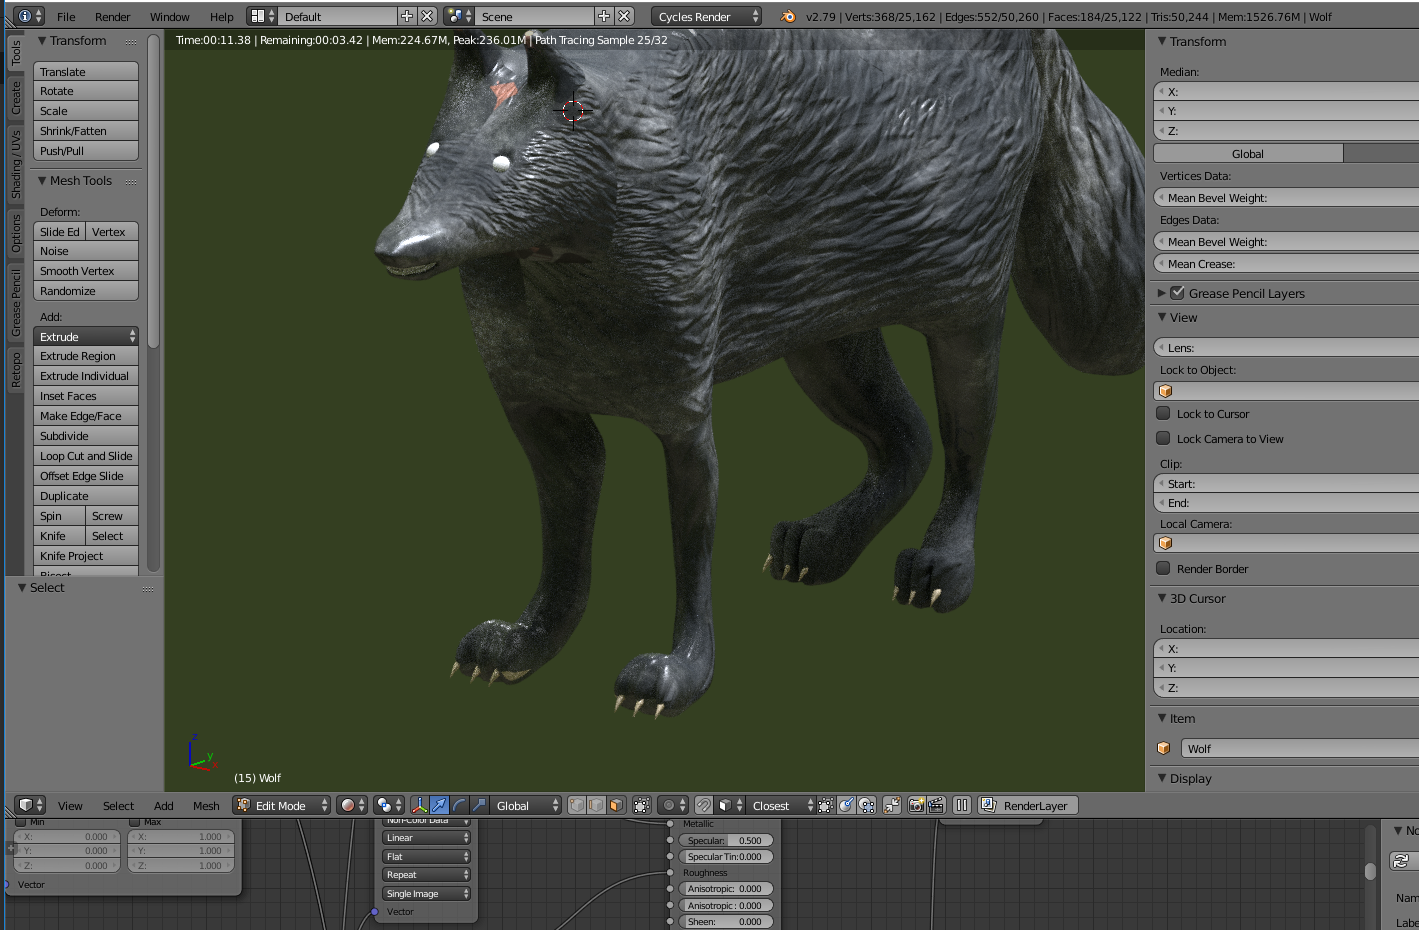
I went back to work on my base layer, as I plan to use larger painted planes to build the fur, but I wanted the base layer to look pretty good first. 


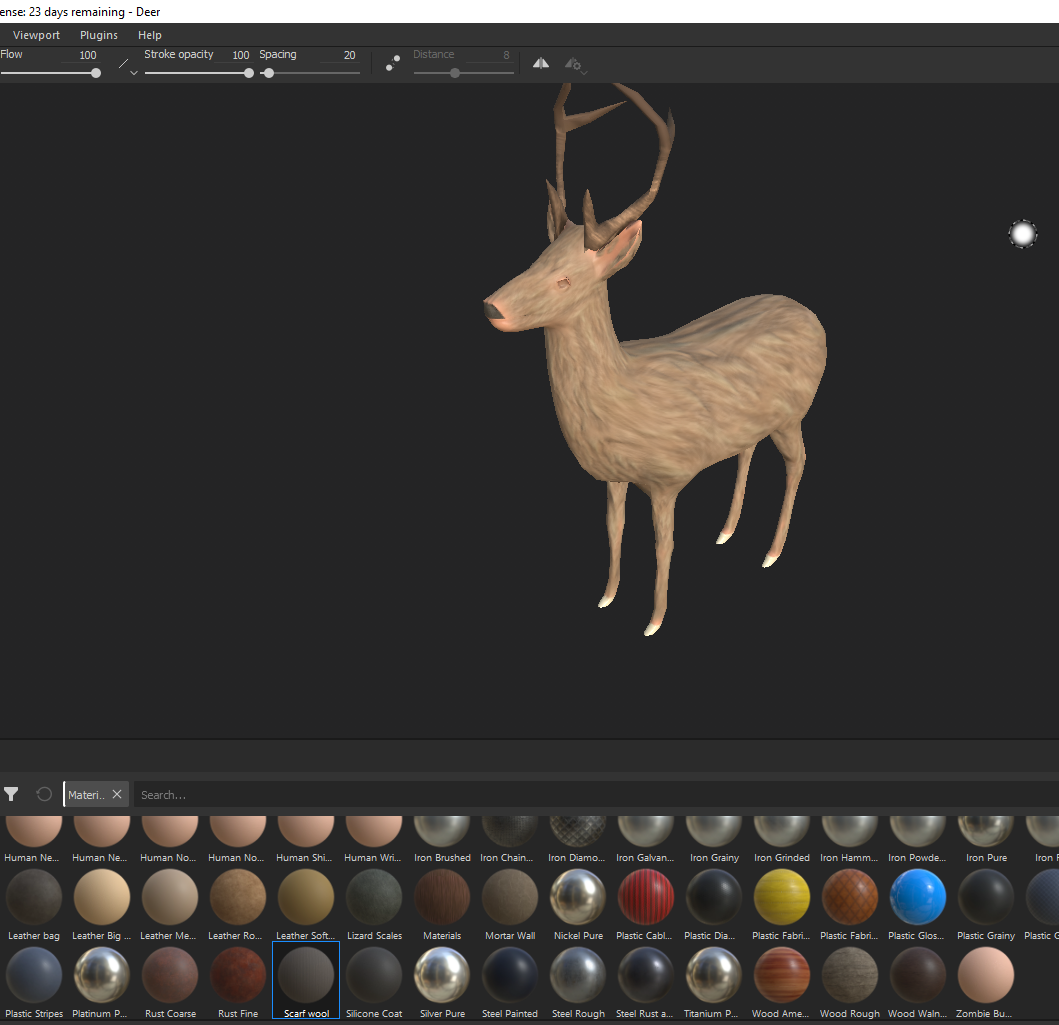
I downloaded a really useful fur texture which I was able to use as a projection (stencil) in substance painter to build a more believable texture on my painted base. 

This is another way of creating a fur 'look' without using spline and although my priority at the moment is to finish out the model using this as a base with painted fur planes, I am interested in how you would create a texture like this for use in substance and planning to look more into that workflow for future projects/versions or samples for this project.